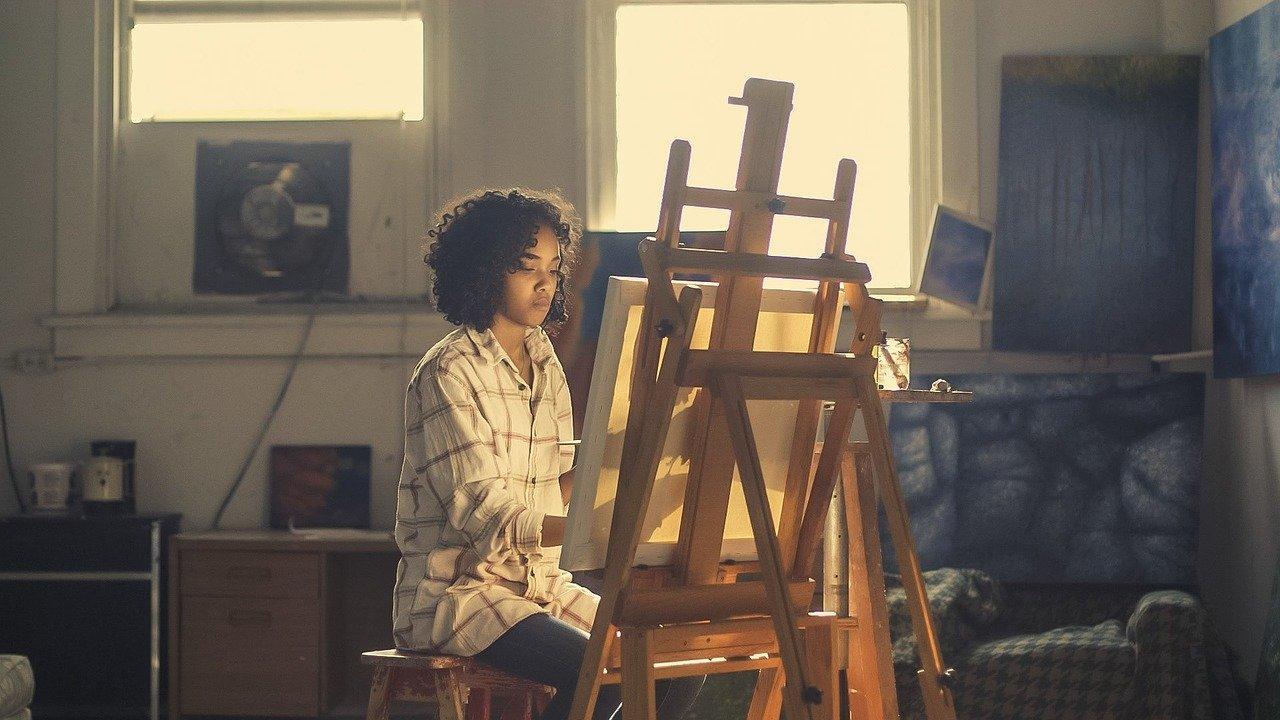

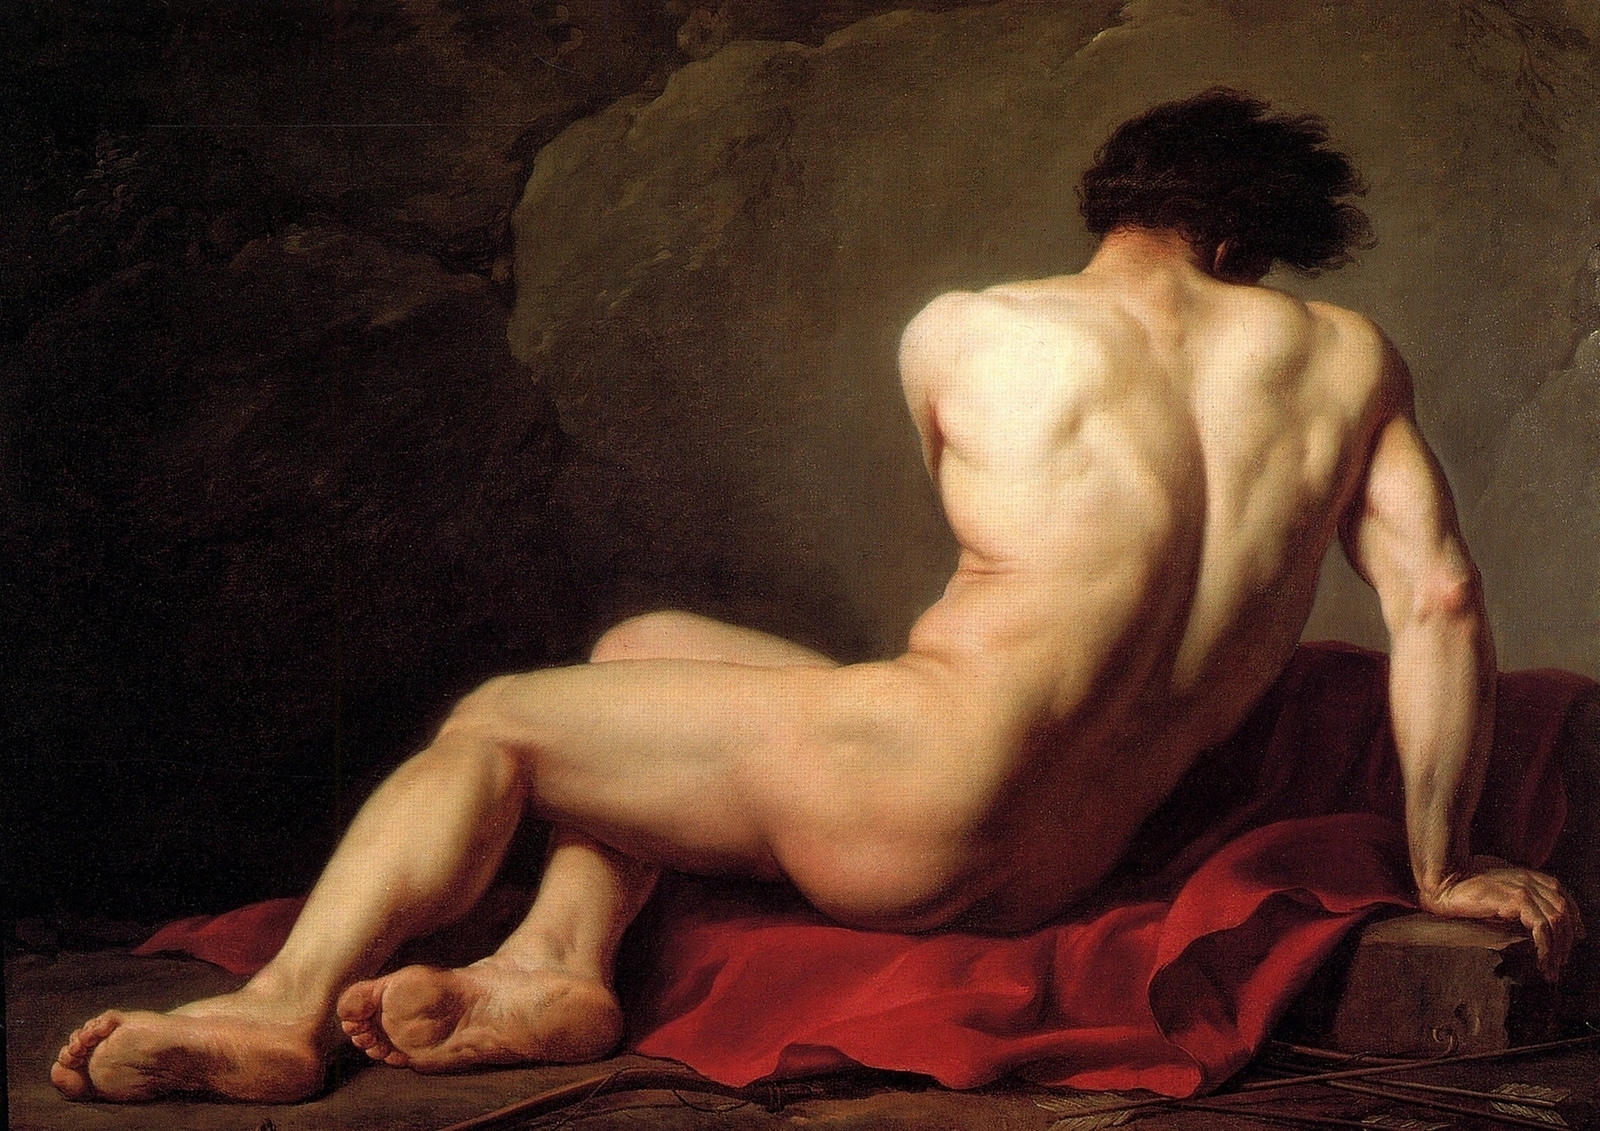
What is 'life drawing'? Does it consider form? Is it done on paper? Do you only sketch humans in various positions? What if the work is only small, not large?
To put it simply, it is an art form also known as 'figure drawing' and represents the human shape in all its postures, using any media from canvas to woodblock and any supplies including ink, pen, pencil, paint or even digital design.
Portraits, illustrations and medical sketches all fall under the umbrella of life drawing and even sculpture is sometimes included in this category. Typically, the artist or illustrator would have experience with making shapes with a pencil or pen on paper, or of a nude form posing live for several minutes.
This genre is quite different from 'still life' that uses landscapes, animals or objects as a subject. Instead, the artist often focuses on a small area, avoiding the surrounding beauty and focusing on the human form to be able to workshop the lines of the body.
However, both styles have been around since the prehistoric era as the famous Lascaux cave walls can testify. Humankind has been trying to represent itself in two dimensions for thousands of years and we've perfected techniques in how to do this well in the last 500 years in particular.
Egyptian paintings, though lacking the expression and detail of more modern artworks, are probably the more abundant source of life drawing from the Antiquity. As hieroglyphs don't function as an alphabet per se, their semiotic purpose is easier to follow. That is, an image of a head can mean a 'head' or a 'leader', a cat image can represent a 'cat' or something relating to Bastet (the goddess of cats) and one of her qualities, and so on.
Yet this style of drawing is considered much harder and more intricate than still life, so if you are new to the world of this artform, you might want to have a go at still life drawing first to gain some experience and refine the small details of your work.
As with most artistic forms, the benefits are multifaceted rather than just relevant to the perfection of an artistic technique. Life drawing is no exception and can help you in numerous ways.
Observation skills
In our modern and busy lifestyle, we often look at things without really seeing them. As you create an illustration of a human figure, you are forced to analyse every detail of the model's body to depict it on paper as best you can. With the force of habit, this skill will translate into your everyday lifestyle and most likely assist you to better read others around you, noticing small expressions and assisting you to engage with individuals in a more refined way.
Relax
Most workshops last for at least 2 to 3 hours, and because they are very quiet lessons, with only the teacher moving around, the only thing students have to focus on is the subject. Figure sketching is a nice way to escape our crazy and noisy lives and because it is not a particularly easy exercise it requires all your focus, all your thoughts. In a way, it is a form of meditation. A workshop helps you let go of all the little worries you may have to focus on during the day, as your attention is given to one task. As already mentioned, being able to focus on more minute details of a person can help avoid breakdowns in communication, thereby reducing subsequent stress.
Improve your skills as an artist
It obviously goes without saying that due to the intricate nature of the practice itself, you can develop indispensable skills that are easy to transfer to other artistic mediums. Life drawing is considered by some to be the foundation of any fine art education and training, be it at college or for personal or professional enjoyment. As the human shape is thought to be the most complex and difficult to represent, it is seen as one of the most difficult challenges an artist can face. There is also the respect and intimacy that both parties bring to the space, with the 'subjects' bearing all to let themselves be studied while nude, and each artist finding ways to represent the features of the body on the canvas. Progressing in this discipline is a lifelong effort that not only makes you a better drawer but also a more skilled painter, sculptor or engineer.
Superprof gives you all the tips and secrets on how to master this style of illustration.


Life Drawing Tips to Perfect Your Art
Mastering the nude figure might take you years but everyone needs to start somewhere. As with any skill, you only get better with repetition and by learning from your mistakes. Don't be afraid to go back, review and then try the same technique and drawing repeatedly. This is a very fine-tuned technique that requires you to understand your work, especially when you're trying to portray something that is obvious to your eyes, but perhaps less obvious to your hands.
In the same way, as if you were writing a novel or a speech, you'll have your idea in your head. The trick is to transfer the image and ideas in your mind into words. This can be more arduous than it seems, with many attempts needed to correctly articulate what you really want to say. This is exactly the same for illustration, so remembering a few tips and applying them every time you put pencil, pen or brushes to paper should make your efforts pay in the long run.
Discover drawing classes Perth here on Superprof!
Get the proportions right
One easy way to focus on proportions is to begin with a shape into which the whole figure fits. The rectangle can be divided into smaller squares for each part of the body. Although body shapes vary, remember that we're all born with more or less the same bone structure, so the essential shape should be straightforward. Once you have this step correct, your next step is to focus on the sizes and proportions of the limbs and head.
Draw and measure, not the other way around
The grid (or rectangle) you draw at the start should not limit your instinct. You may have been taught that measurements must be determined and sketched first but doing that may limit your natural flow. Because you're directly working from what you have in front of your eyes, it's definitely best if you allow the lines to flow out of you.
If you draw first and measure next, you may not have to measure as much since the accentuation of certain features of your piece may come out exactly as you want, meaning the others fall naturally into place.
Consider perspective
Perspective allows you to create a three-dimensional feeling out of a two-dimensional work. Essentially, perspective is about representing the size of an object according to its distance from the viewer. That is, an object that is further away will be drawn smaller than an object that is closer. Perspective is key to making the figures and features look realistic.
Perspective can be different depending on where you are in relation to your subject. In a lesson with other students, the subject is likely to be situated in the centre of the room with students sitting around him or her in a circle formation. What this means is that each student's representation of perspective is going to be different.
Use your arm, not your hand
Life drawing is all about capturing the figure of your subject, sometimes even showing the way they move and how the muscles stretch and relax. Capturing this amount of detail in a natural way is impossible to do so just by using your hand and wrist, so use your whole arm. This is going to aid your dexterity, too, as it gives you more control over where you place your fingers and whole hand, whilst crafting the illustrations with more elegant strokes.
Everything from your shoulder to the tip of your fingers should be moving. This requires you to sit quite a way back from your canvas or support and your arm may get tired more quickly. However, you can start out with this method then, as your arm gets tired and you need to move in to hone in on more detailed parts of the portrait, that's when you can move back towards your canvas.
Do not erase
This tip is important because erased parts of your picture will only draw attention and the viewers will probably focus more on the parts you erased than on the rest of your work. And this is not to mention that we are encouraging you to learn from your mistakes, not get rid of them entirely. You never know either — having the traces of previous attempts on the canvas may lead to other figures appearing on the work, or to a newfound artistic inspiration that you didn't have in your mind's eye.
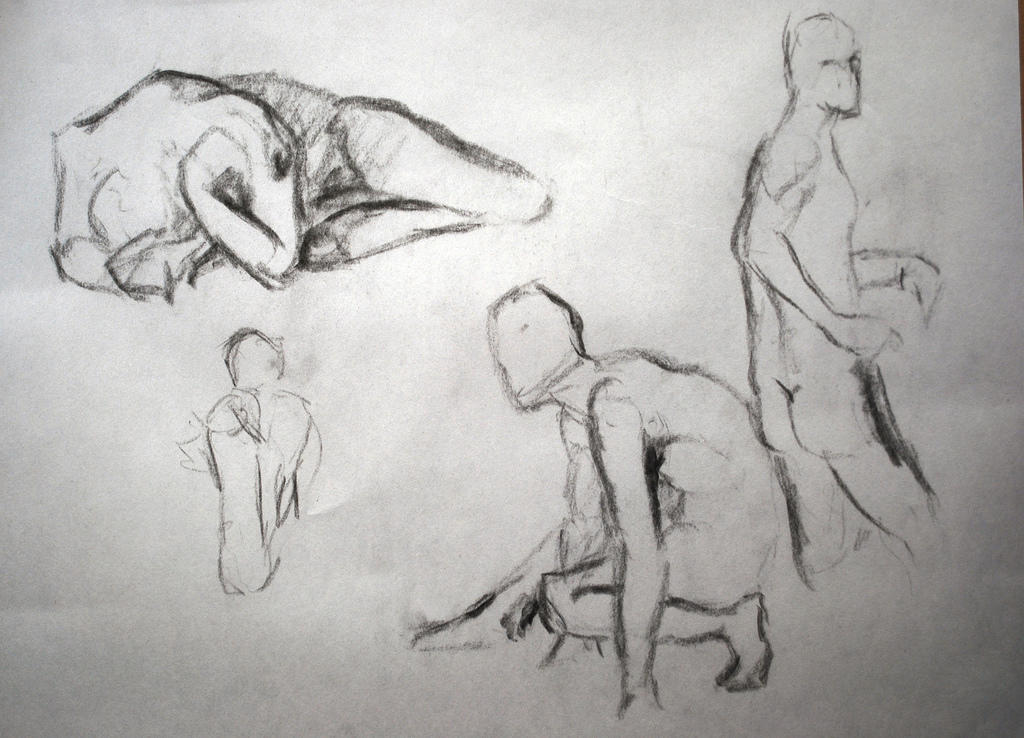
Look at the whole figure
Taking two or three seconds to analyse the whole figure can have a big impact on the final piece. The average artists mentally draw 3 lines — one from shoulder to shoulder, one from knee to knee and one from hip to hip.
This way you should be able to see how the figure supports its weight if it is taller or wider. Sketching a quick outline of the figure and then adding the rest over it should make the process easier and you should become better at it with practice.
So get to your pencil, charcoal or pen and ink and get drawing!
Get started today with drawing classes Adelaide on Superprof!
A Guide to Becoming a Life Drawing Model
Modelling in life drawing classes is not reserved for those with an exhibitionistic side, but it definitely requires a certain level of self-confidence.
To sit, stand or recline unclothed in front of a group of budding artists could be extremely awkward and stressful if you're not at ease with your body. Do bear in mind, though, that participants will be focusing on the lines of your body, viewing you more or less impersonally despite the fact they are seeing you nude and vulnerable in the middle of a room.
As Anne Noble-Partridge, founder of London Drawing, says to her models, the artists are there to represent an image, not judge their masculinity or femininity. Being super fit is not the point here as the artist is looking at reproducing the figure, rendering all its shapes and forms, naked or clothed. Therefore, if you want to lend your services to the field but do not consider yourself as typically fit, that's not a problem - the diversity of the human form is what the artists are there to see.
That means that anyone (over the age of 18, for legal and ethical reasons) and in any fitness condition can actually become a Life Drawing Model.
Gender also makes no difference. But anyone wanting to sit for students will have to be ready to remain still for extended periods, though, regular breaks are factored in. You might also be asked to pose in a more intimate fashion, leaving you quite exposed. That comes with the job.
A lot of actors and fashion models prefer these kinds of jobs to waiting tables or working in retail, as they are not only contributing to an artistic endeavour but it is also helping them face jitters they may encounter when on the stage or catwalk.
Modelling has been said to give people a confidence boost as well, since being nude in front of a room of strangers is liberating. It forces you to push past any potential fears you may have about showing your body. Beyond crossing this boundary, having others appreciate your physical form and render it delicately and thoughtfully onto paper or canvas can imbue the moment with a sense of serenity and bring an understanding of the beauty of one's own body that wasn't present previously. So you never know, this may be a confidence-boosting exercise!
How important is physique, though?
What does it take to do the job?
Where can I find these kinds of jobs?
So many questions! We will answer them the best we can.
Famous Life Drawing Artists
Many artists, including painters, drawers and sculptors, represent the human figure in their work.
One of the most famous is probably Leonardo da Vinci.
The Italian polymath mastered many crafts, from painting to engineering, as well as anatomy, botany, geology and cartography.
Da Vinci used still life and life drawing techniques during his prolific career in Milan, Venice and France. Mona Lisa and The Last Supper are only two of his most famous paintings.
Many other creatives have mastered life drawing. Some disciples of Leonardo da Vinci, like Rembrandt, had very successful careers in their lifetime. Today, paintings by Rembrandt are amongst the most expensive in the world. The Pendant Portraits of Marten Soolmans and Oopjen Coppit, a pair of wedding portraits painted by Rembrandt in 1634, sold for 180 million pounds ($320 million Australian) in 2015.
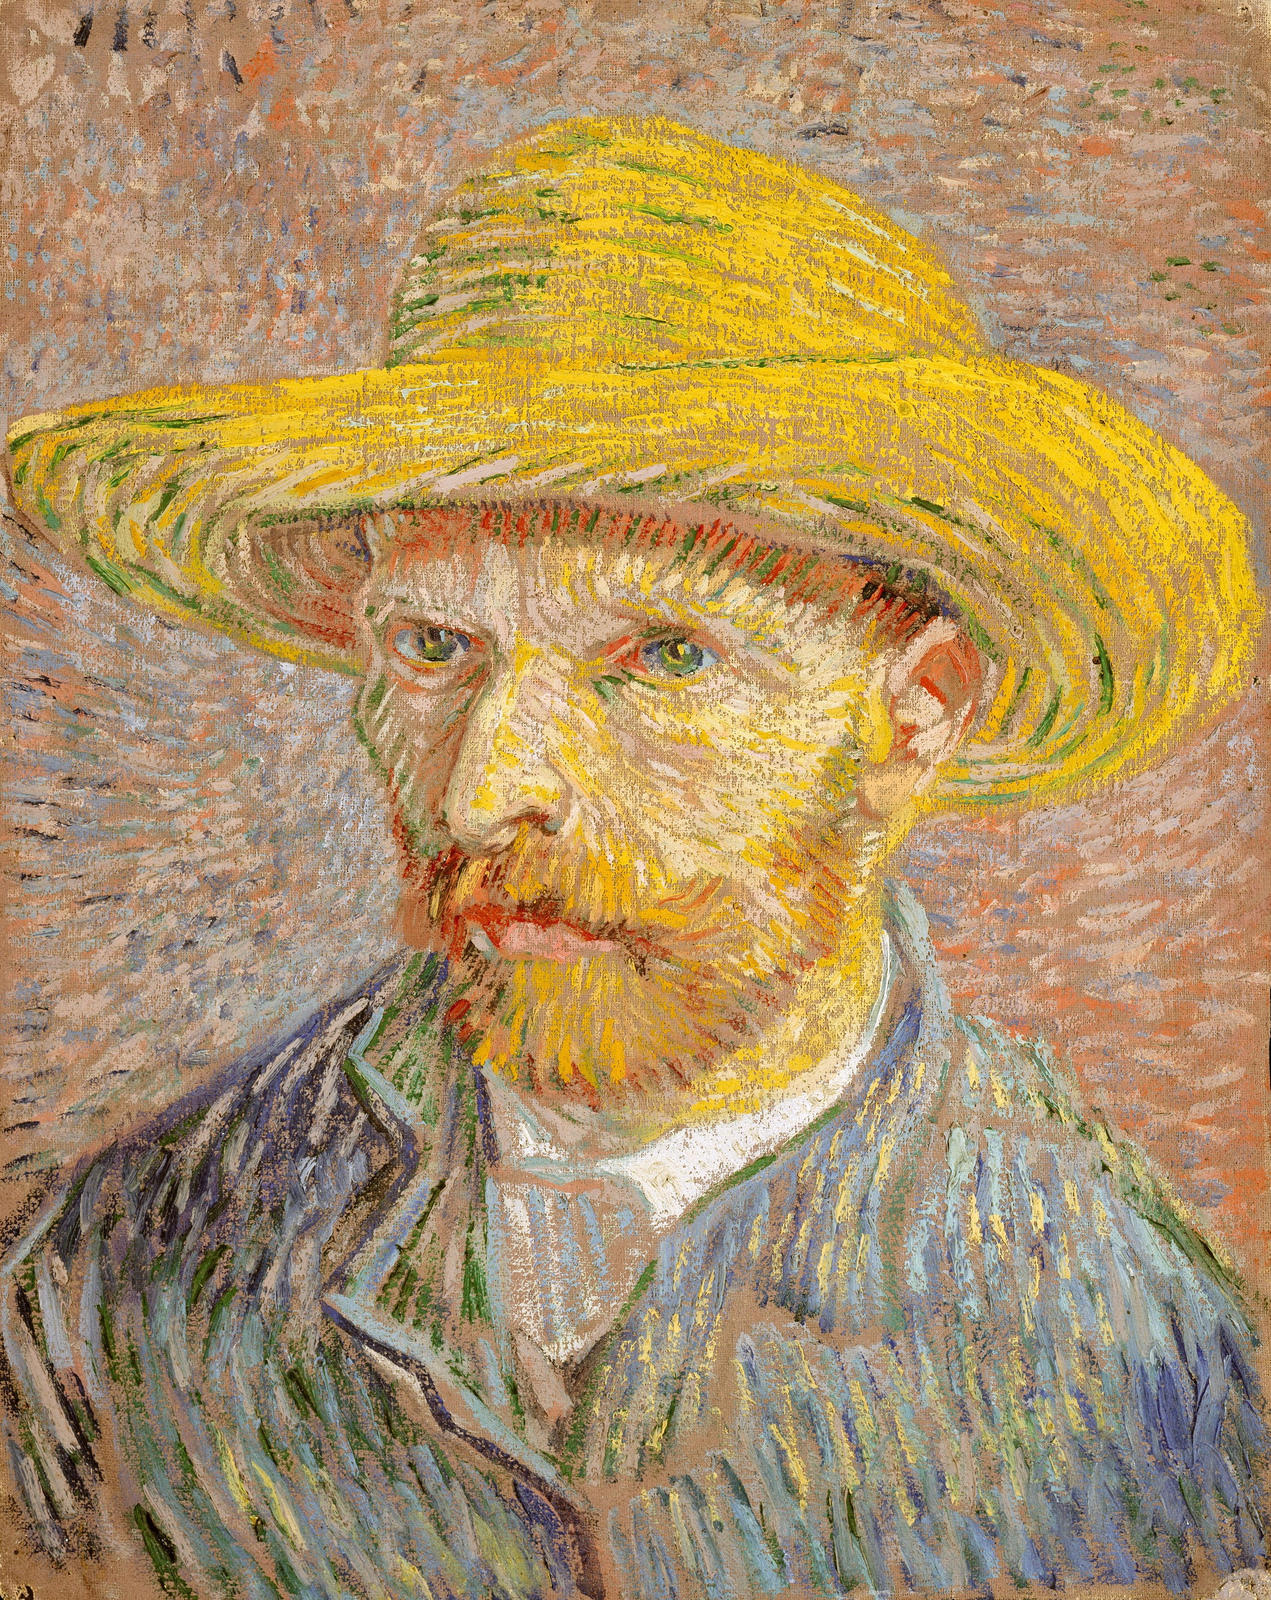
Edgar Degas and Vincent van Gogh are two more life drawing masters and more recent names include Andy Warhol, Georges Condo and Maria Lassnig.
Each artist has a unique way to represent the body on paper or canvas, and each influences their own artistic sphere, with a long-lasting impact on the creative community.
Where To Find Life Drawing Classes
If you are looking to learn how to replicate the human form, there are better ways to start building your skills than just looking at YouTube videos.
Nothing beats a life drawing class to hone your skills. However, it might be tricky to come across classes near you. So where should you look and what should you look for?
Your local art centres, universities or art studios would be the best places to commence your search.
Checking noticeboards in these locations is a good start. If you find classes that sound interesting, you can then contact the organisers to find out more. Talking to the instructors or other students can give you a direct feel about whether the class is likely to suit you and what you can expect.
There are also a few websites that can help you, such as Meetup. This platform allows you to search for figure drawing classes in your local area so you can connect with other like-minded, budding creatives.
Searching for lessons and information on Google or another search engine is a good start as it lists many universities and studios across Australia. You can also narrow down your search by specifying your state or city. There are a range of workshops available, including one-off 'hen nights', but all give you a chance to have a go at this artistic genre or improve your skills.
Because Melbourne and Sydney are admittedly the cultural capitals of Australia, it should be easy to find a tutorial or series of workshops — as long as you know where to look.
The Museum of Contemporary Art
This museum in Sydney holds a monthly gathering called the Sundown Sketch Club, with each monthly event featuring a different theme. The lessons vary in what they cover, including figure drawing and architectural sketching, along with a drop of experimentation as well. Nonetheless, all of these skills push you to refine your skills and gain perspective and insights into different techniques.
Life drawing lessons are often directed by professional art teachers. They start from $27 for a two-hour lesson on the first Friday of every month. But do make sure to book ahead as these workshops tend to fill up very quickly.
Missing Persons Life Drawing
A multipurpose creative space located in Melbourne, this studio hosts a variety of figure drawing classes at a central location on the corner of Swanston Street and Flinders Lane.
The sessions are typically held over 2 hours on Monday, Tuesday and Wednesday evenings, with a different model sitting each time, so you can practise with a variety of physiques. Tickets are $20 per session and all supplies are provided, including butcher paper, drawing boards, charcoal and pencils. Each class is limited to 30 participants so ensure you book ahead.
Online Lessons
If you live in regional areas of Australia and cannot commute to lessons, or if the days and times of live classes don't suit you but want to start life drawing, there are options for you, no matter your location.
The Royal Academy
Despite being located in London, The Royal Academy is one of the best places to get an artistic education, due to its global reputation. The 250-year-old institution has championed its artists for many years and has extensive galleries throughout London.
Online study and practice of life drawing make it easier for everyone living far away from any studios or art schools. All you need is the internet and a computer. You could begin with a portrait or a sketch of an (almost) nude model who's posing hundreds of kilometres from you.
Each 90-minute session can be joined at any point, for all or parts of it. Each lesson is guided by an instructor and usually starts with some quick sketches before trying some longer poses to perfect your sketches.
Note that because these sessions are held on social media, they don't include fully nude models.
Lovelifedrawing
This provider also offers many lessons via Zoom and they have tutorials specifically aimed at beginners and those who are not yet sure if life drawing is for them.
Their mini-course has three modules involving a lot of guided practice designed to help complete beginners who have never sat in front of an easel. One of the main benefits of this course is that it’s free and you can start straight away! It is perfect if you are looking to learn how to draw online.
By the end of the free mini-course, you should be able to produce figures with greater accuracy. More importantly, you'll have improved confidence to be more expressive and to let your artistic self out. This course also gives you the tools to get on the right path for the next step of your figure drawing hobby or career.
What to Expect at Your First Class
Many first-time participants think they are prepared before they enter the room but often they aren't.
The most obvious thing you should expect as you walk through the doors is a naked person — male or female and anywhere between the ages of 18 to 70 (or older). Unless you're really early, they'll already be there, posing in the centre of the studio with a number of easels around them in a circle.
The atmosphere is likely to be quite relaxed, almost meditative as each artist gets into the zone of focusing.
Generally, each class begins with a series of warmup sketching exercises of 20 minutes, followed by a quick series of rapid sketches where the model will change positions every 2–5 minutes. Finally, the group settles in for the longer sketch, which is usually more detailed and lasts anywhere from 40 to 60 minutes. This final position will be easy for the model to hold, so it may also be easy to draw (or easier, in comparison to the rapid sketches).
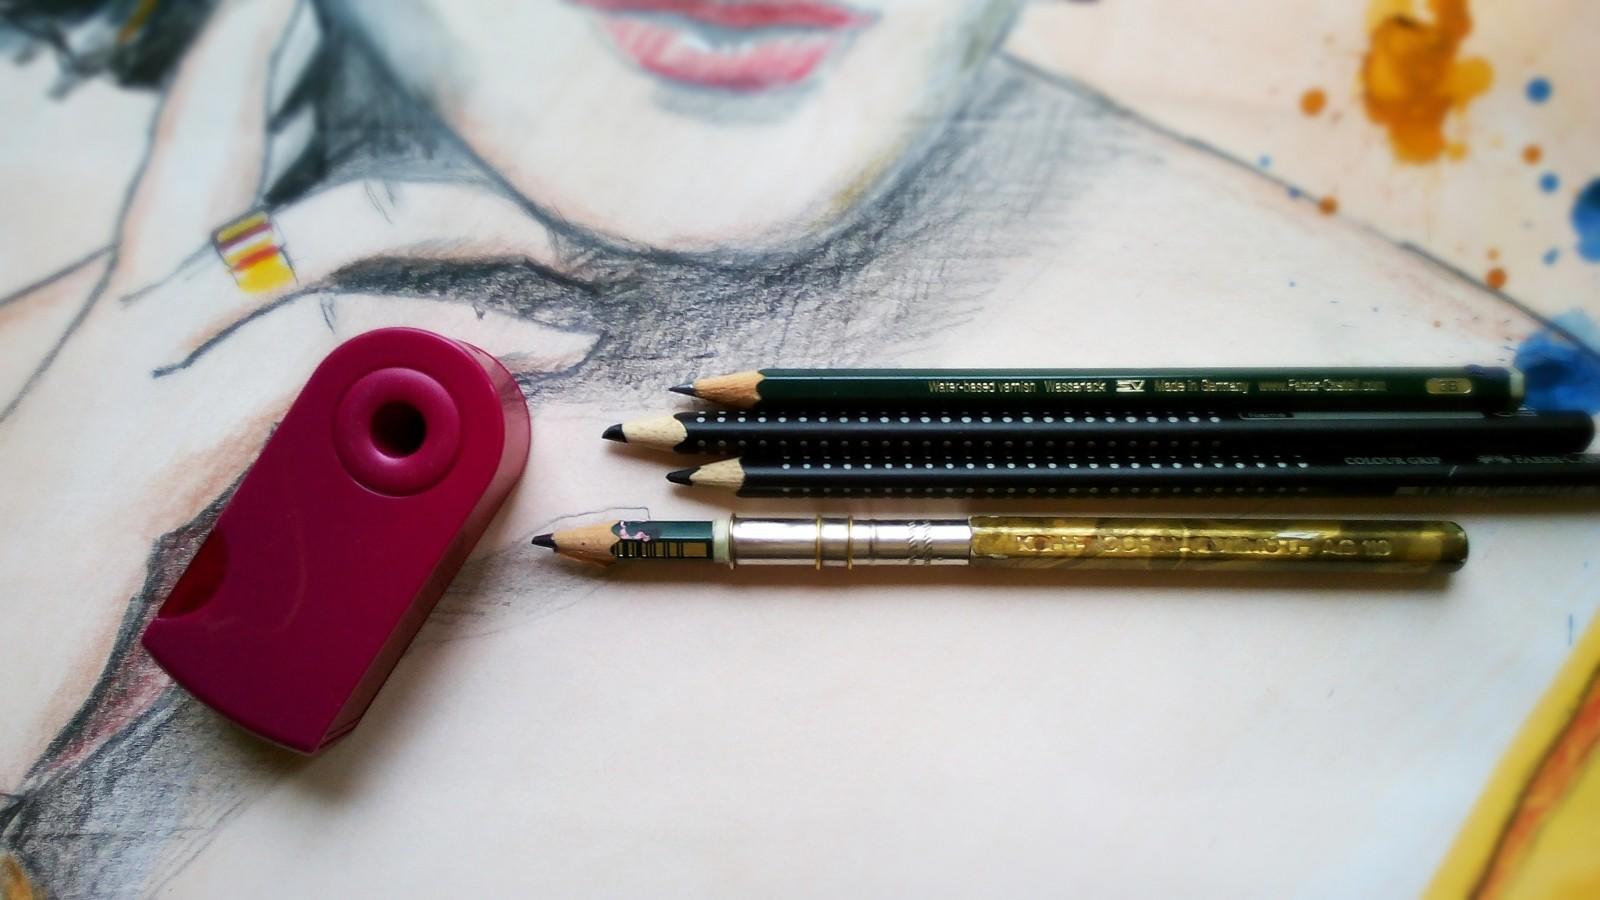
Depending on the class and your teacher, you may have everything supplied for you or you may need to provide your own materials — decent quality pencils or sticks of charcoal, an eraser, some paper (at least A3 in size) and a sharpener. Easels are usually provided. Even if the class you've chosen supplies basic materials, you may prefer to bring some of your own as well, particularly if you want to experiment with ink, paint or different sized brushes.
Finally, expect to have fun.

Taking the First Step
Often, getting started and taking the first step or two when it comes to any sort of artistic expression, let alone that of figures, can be the most difficult. It sounds obvious but it's important to take things step by step, mastering each technique from the beginning before moving on to the next.
Here are five strategies for getting those first lines on the page and setting yourself up to succeed. Note that these are not sequential but are different starting points depending on how the subject is seated and what you can and can't see.
Begin with the head and neck
Working from top to bottom seems natural, so start by getting the position and angle of the head correct. Focus only on the head itself — size, shape and tilt — rather than the hair (that can come later). Once you've drawn the outline of the head, get a sense of perspective by sketching in the centre line of the face and the chin and jawline, and down to the angle of the neck. (Facial features come much later.)
Begin with the shoulder line
Starting with the line of the shoulders is particularly useful when the head is fully or partially obscured because of your position in relation to that of the subject. Find this line on the subject by mentally tracing the arc of their shoulders between the clavicle bones (the top jutting out bit of the shoulder). This is represented as a single line on your paper and can determine the proportions and position of other body parts as you continue.
Start with a gesture line
A 'gesture line' is a single or double line that shows the general arc of the body. These are particularly useful if the pose is unusual or expressive in some way. Ask yourself, 'What is the model doing?' to get a sense of the general flow and shape of their body through the shoulders, along the spine and into the legs. Once you've captured the overall shape, you can start adding the larger features, such as arms and legs.
Begin with a shape
Gesture lines work best when the figure you are sketching is elongated or standing. For figures that are sitting or crouching, starting with a shape is more effective. To do this, visualise a shape that the figure would fit into — often this is a triangle. Sketch the shape, then use other strategies, such as starting with the head or the shoulder line to form your figure within the shape. It's sort of like chiselling away at your shape in the way a sculptor would.
Start with an envelope
This strategy is very similar to starting with a shape, however, you are sketching the boundaries of the figure to create an irregular shape the figure would fit snugly in — like a cocoon (or an Egyptian mummy if you want to think of it that way). The lines on your envelope can be curved, straight or a mix of the two. Create each new line when you observe a change in the angle of the body.
Whichever strategy you use — remembering the one you choose is determined by the pose and should make starting easy — there are several factors you are going to want to capture within your first ten lines or so:
- general shape and tilt of the head
- angle and breadth of the shoulders
- action line of the whole pose
- position of the feet
- approximate height and width of the overall pose.
Once you have these accurate, your sketch should take a recognisable form, giving you a foundation for the rest of your drawing as you add in specific features. Think of your sketch as building in layers. The first layers being the shape, outline or envelope; the next layers are the body parts and the final layers are the features and detail.
Grab your pen, pencils or paint and brushes, get to your canvans and let your creativity flow!
Discover drawing classes Sydney or wherever you are on Superprof!
Summarise with AI:
Did you like this article? Leave a rating!