

Getting started with IT is actually easier than you think and while attending an IT course is a great way to learn the skills, you can learn to use a PC quite simply using books, websites, videos, and plenty of other useful resources.
Beyond using a PC, you can also learn to use your smartphone, tablet, or any other electronic device with an operating system more effectively.
If you've made it here, we'll assume that you at least understand the basics of how your device works enough to search for things on the internet, but from this point onwards, we're assuming that some or most of what we're going to talk about here is new to you.
We'll be looking at the basics of using your device to do things like install software, take screenshots, use different keyboard layouts, and change the language.
Are you ready for an introduction to some basic IT skills? Let's go!


Installing Microsoft Office/Microsoft 365 on Your Computer
Microsoft Office (now called Microsoft 365) is a subscription-based software suite that comes with plenty of features. What this basically means is that there are lots of different programs bundled together as part of the package.
It includes Office classics like Word, Excel, and PowerPoint, and even comes with 1TB of cloud storage, which is more than enough storage space for the kinds of files that most of these programs use.
Here's how you can install Office 365 onto a Windows operating system.
Installing Microsoft 365 on Windows
- Sign into your account on the office.com website.
- Once signed in, click either Install apps or Buy Microsoft 365 (if you haven't already signed up for Microsoft 365)
- From the admin centre, choose the language for the installation and select install.
- A pop-up will ask if you want to "save" or "run" the file. Select "run".
- When prompted "Do you want to allow this app to make changes to your device", select "Yes".
- The installation will then begin and you'll be given a "tour" of how to open your apps.
- You can then close the tour and the installation dialogue.
- You can open apps by clicking the Start/Home button and typing the name of the app into the search bar.
If you need more help with IT, don't forget you can always look to study IT with one of the many talented and experienced tutors on the Superprof website.
Taking Screenshots on Computers and Other Electronic Devices
There are many reasons to need to take a screenshot. A screenshot is essentially a "photo" or image file of whatever is currently displayed on your device's screen (hence the name).
Perhaps an article you're reading mightn't allow you to copy the text to read later or offline or you've just seen something funny that you'd like to share. In both of these cases, you can take a screenshot. No matter what your reason for taking a screenshot, it's a useful IT skill to have.
This is quite simply done, but for IT novices, it's not necessarily obvious. There are three ways that I like to do this:
- MS OneNote clip add-on for Google Chrome
- Pocket app
- The Snipping Tool
Taking a Screenshot in MS OneNote
Microsoft's OneNote is an app for taking notes and can also be used for taking screenshots. The OneNote web clipper is an add-on for the Google Chrome browser which allows you to clip anything on the web, provided you use Google Chrome to browse the internet.
There are 4 ways that MS OneNote Web Clipper can take screenshots or clip information:
- Clip the full page (a screenshot).
- Clip just part of the page.
- Copy just the text from an article.
- Create a bookmark (saving the page address so you can easily find it later).
Once you've chosen how you want your screenshot/clipped information to be saved, you then choose which "notebook" you'd like the information to be saved into.
The Pros:
This is a great feature for digital scrapbooking, saving shopping lists, and building notebooks of useful information when doing any kind of research.
You can also use this to clip information to serve as inspiration such as for planning events like a dinner party, wedding, etc.
Pocket is an app that you use to collect information from the internet to read later on. This isn't quite the same as taking a screenshot, but it can be really useful for curating information on things you're interested in or longer articles and documents online that you mightn't have time to read right now.
To save information with the Pocket app, you just need to right-click and select the Pocket option from the drop-down menu. For this to work, you need to have set up an account with Pocket and installed the add-on for Google Chrome or your internet browser of choice.
The Pros:
This is a great tool to save pages onto your PC to read at another time. You can build and curate content and even tag and organise content to put together libraries on certain topics.
Snipping Tool
This is a tool that's specifically for saving images from your screen and is part of the Windows Operating System so you don't even need to install it because it should already be on your PC!
It's quite easy to use. Here's how to take a screenshot or clip part of your screen using the Snipping Tool:
- Press or click on the Windows button
- Type Snipping Tool into the search bar
- Select the type of screenshot from the "Mode" button.
- Click new to select what you'd like to screenshot or snip.
- Once your screenshot has been taken, you can annotate it, write on it, save it, copy it, or share it.
Other Programs, Apps, and Tools for Taking Screenshots or Clipping information on Windows
- Easy Capture
- LightShot
- PhotoCam
- PicPick
- PrintScreen
- ScreenHunter Freeware
- ScreenshotCaptor
- Snappy
- SnapShot
- Web Screen Capture
Other Programs, Apps, and Tools for Taking Screenshots or Clipping information on Mac
- Cam to Scan
- Camtasia for Mac
- iUSBCam
- iVisit
- Onde Screen Capture
- Screenshot Plus
- ShowU
- Snapz Pro X
Other Programs, Apps, and Tools for Taking Screenshots or Clipping information on Android
- AZ Screen Recorder - No Root
- Easy Screenshot
- Lovekara Screenshot
- Meihillman Screenshot
- Screen Recorder for Android
Making Sure Your PC Has the Right Keyboard Layout
The QWERTY keyboard layout is commonly used across the English-speaking world for computer keyboards, but there are other layouts for different languages around the world and even variations between QWERTY layouts between different English-speaking countries.
The other layouts tend to include symbols and characters that are unique to the languages where they are used, but if you happen to ever type in languages other than English, it can help to have these layouts available.

Setting Up the Correct QWERTY Layout on a Windows PC
These are generally how you change your keyboard layout on a Windows PC but the exact method will vary slightly according to which version of the Microsoft Windows operating system you have on your PC.
- Go to the Start menu. You can either click on the button on your desktop or press the "Windows" key which usually has the Windows logo on it.
- Click on Settings/Control Panel.
- Select "Time & Language".
- Go to "Region & Language".
- Click English (there are different options in parentheses for the various regional settings).
- Usually, you'll need to restart your device before these changes take effect.
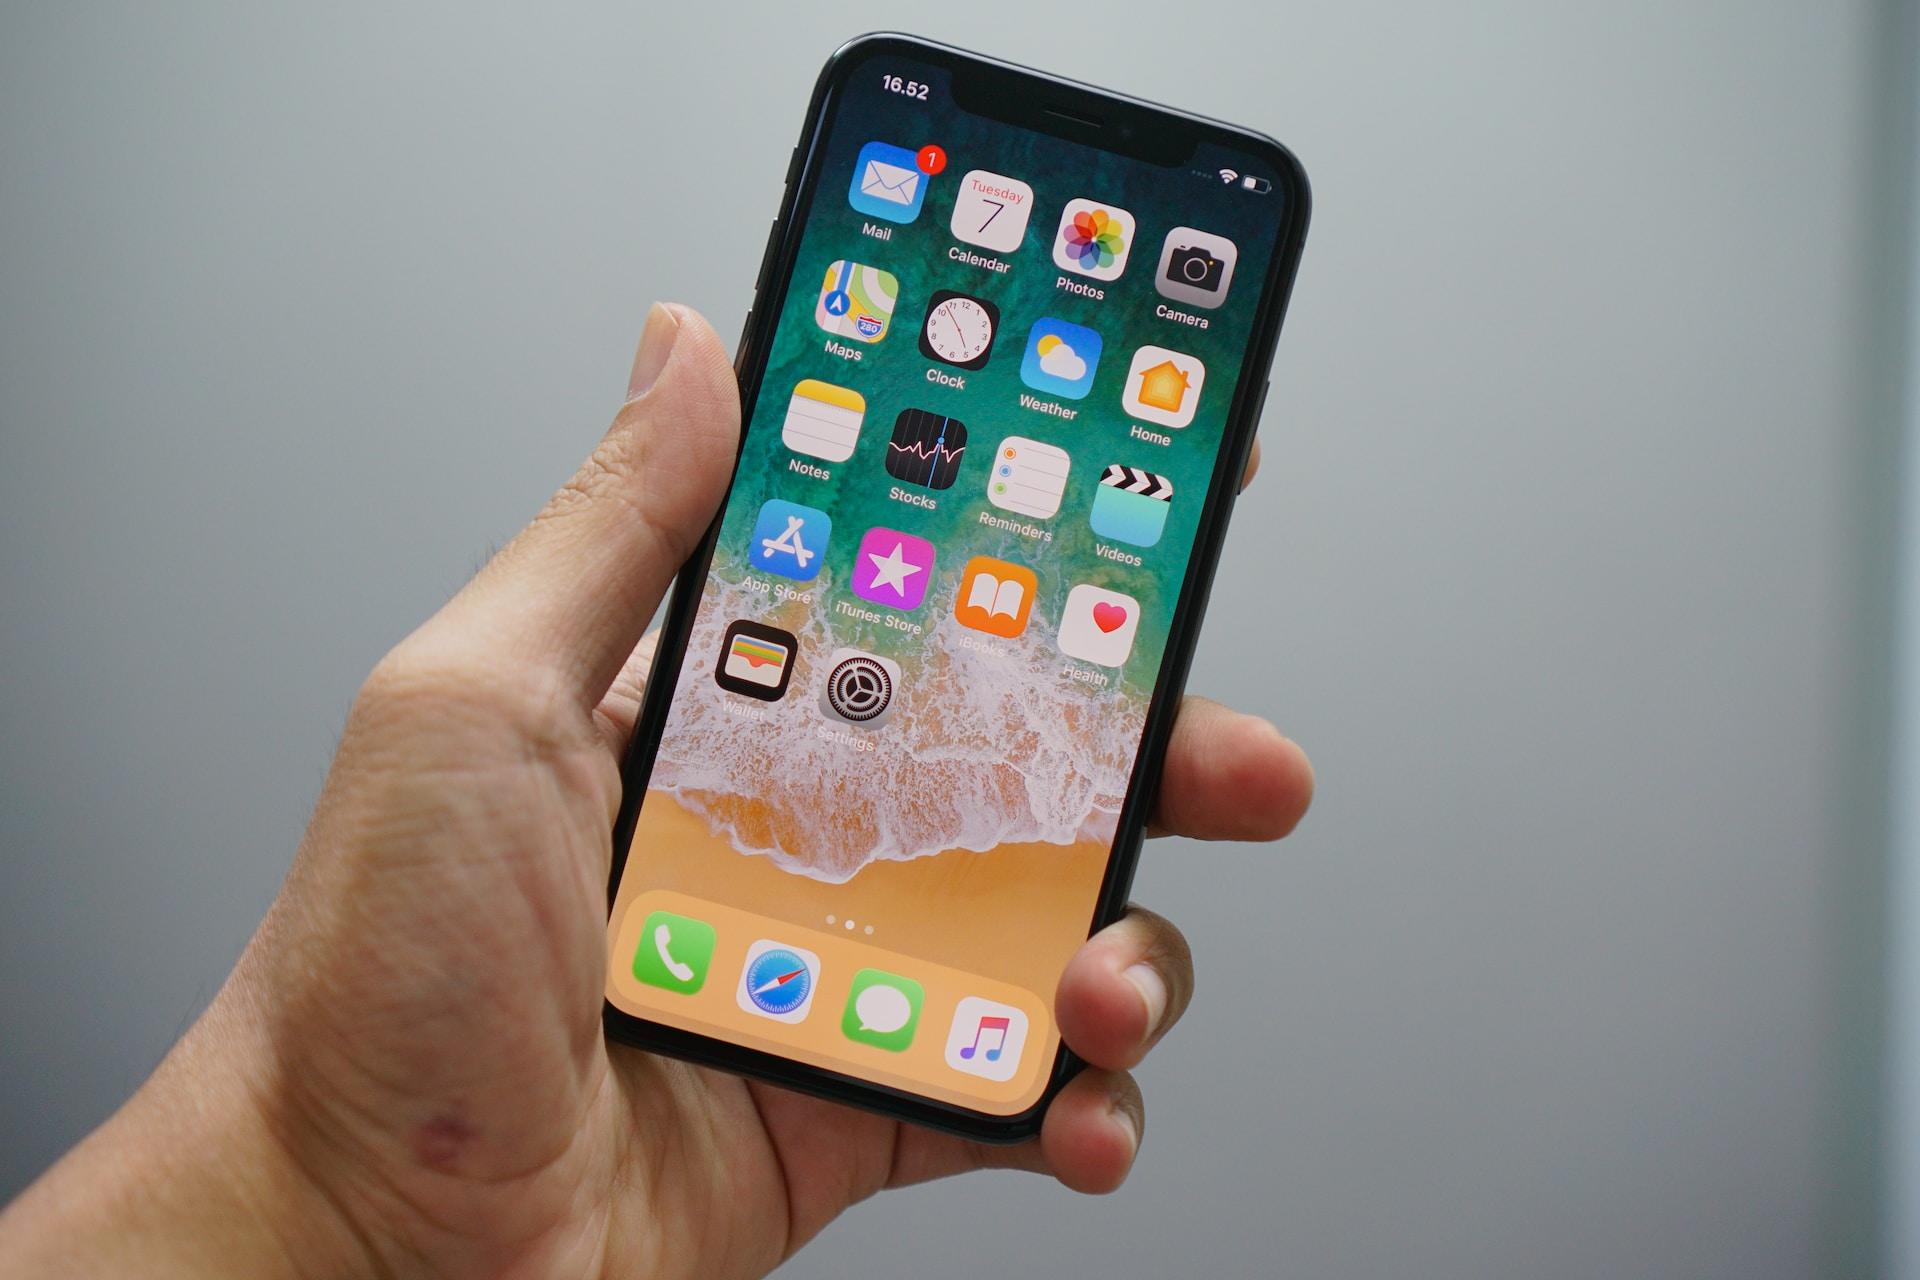
Setting Up the Correct QWERTY Layout on an iPhone
Again, different operating system versions may have slightly different methods, but changing your keyboard settings on your iPhone should look something like this:
- Open Settings.
- Go to the General tab.
- Select the Keyboard tab.
- Tap the Keyboards option.
- From there, you can see the installed keyboards which are displayed as the name of the language.
- Tap on "English" or add a new keyboard if English isn't there.
- You will then have the keyboard layouts to choose from. You can pick QWERTY.
- Your keyboard will be updated.
Changing the Language on Your PC or Phone
Changing the language settings on your PC or phone is a great way to help you learn a foreign language, but if you have a device in a language you don't understand, this can be quite problematic. It's usually quite easy to change the language even if you're new to PCs or other electronic devices.
Changing the Language when You Don't Understand the Current Language
It's much harder to learn the basics of using a PC or a phone when it's in a language you don't understand. It's rare that your device will ever be in a language you don't understand, but if you've accidentally changed the language settings or somebody has done it for you (changing the language of somebody's phone is quite a common prank, after all), you'll need to change the language back.
To solve this problem, you have to get quite creative, but here are a few ways you can change the language of the operating system back to one that you understand.
- If you know what language the device is currently in and know somebody who speaks the language, ask them to help you.
- If you don't know anyone who speaks the language, open the Google Translate app or use Google Translate (or another kind of machine translation) on another device to find the name of the language settings in the language that your device is currently in.
- Use another device to search for how to change the language and watch a YouTube video tutorial on how to do it. Different languages won't usually change the layout or icons of apps, settings, etc. so you can follow the same steps even the words are different.
- When searching, don't forget that different devices, models, brands, operating systems, and versions all can have different ways of doing this so try to include this information in your search.
Changing the Language Settings on a Mac
- Click on the Apple icon and go to System Settings
- Select the Language & Region setting.
- You your preferred language.
- Make sure your preferred language is at the top of the list.
- Your language settings are now updated.
Changing the Language Settings in Windows
- Click on the Start button or press the Start key on your keyboard.
- Type "Region & Language"
- Click "Add a Language"
- Select your language.
- Click Install to download your chosen language.
- Click "Set as default".
- The new settings will take effect when you next restart your device.
For beginners, technology can seem quite complicated at first but once you've had an introduction to understanding how these devices work, you'll see that technology needn't be that daunting.
If you want to learn how to use your computer, there are plenty of courses, classes, and even training available. You can also look for a community of technology novices online where you can learn together.
If this all feels too much, you can also get a technology teacher to help you. There are private tutors on the Superprof website, for example, who can teach you about using a PC, smartphone, tablet, or any other device. Just search for IT and where you live and you can start browsing potential tutors.
Summarise with AI:
Did you like this article? Leave a rating!