
“I have often said that I wish I had invented blue jeans: the most spectacular, the most practical, the most relaxed and nonchalant. They have expression, modesty, sex appeal, simplicity - all I hope for in my clothes.” - Yves Saint Laurent
More and more people are opting to do it themselves when it comes to clothes and accessories. Whether it’s for a sense of accomplishment, economic reasons, etc., there are plenty of good reasons to take up a creative hobby. Sewing is becoming more and more popular. For clothes, accessories, furnishings, etc., sewing is a useful hobby. After all, you can make your own clothes, tailor other clothes, adjust ill-fitting clothes, or do your own arts and crafts; it's economic and ecological! In this article, we’re going to show you how to do a zig-zag stitch, what it is, and what you can use it for.


What Is a Zig Zag Stitch?
After the straight stitch, the zig-zag stitch is the most commonly used in sewing. To understand what a zig-zag stitch, here’s definition:
“It is a back-and-forth stitch used where a straight stitch will not suffice, such as in reinforcing buttonholes, in stitching stretchable fabrics, and in temporarily joining two work pieces edge-to-edge.”
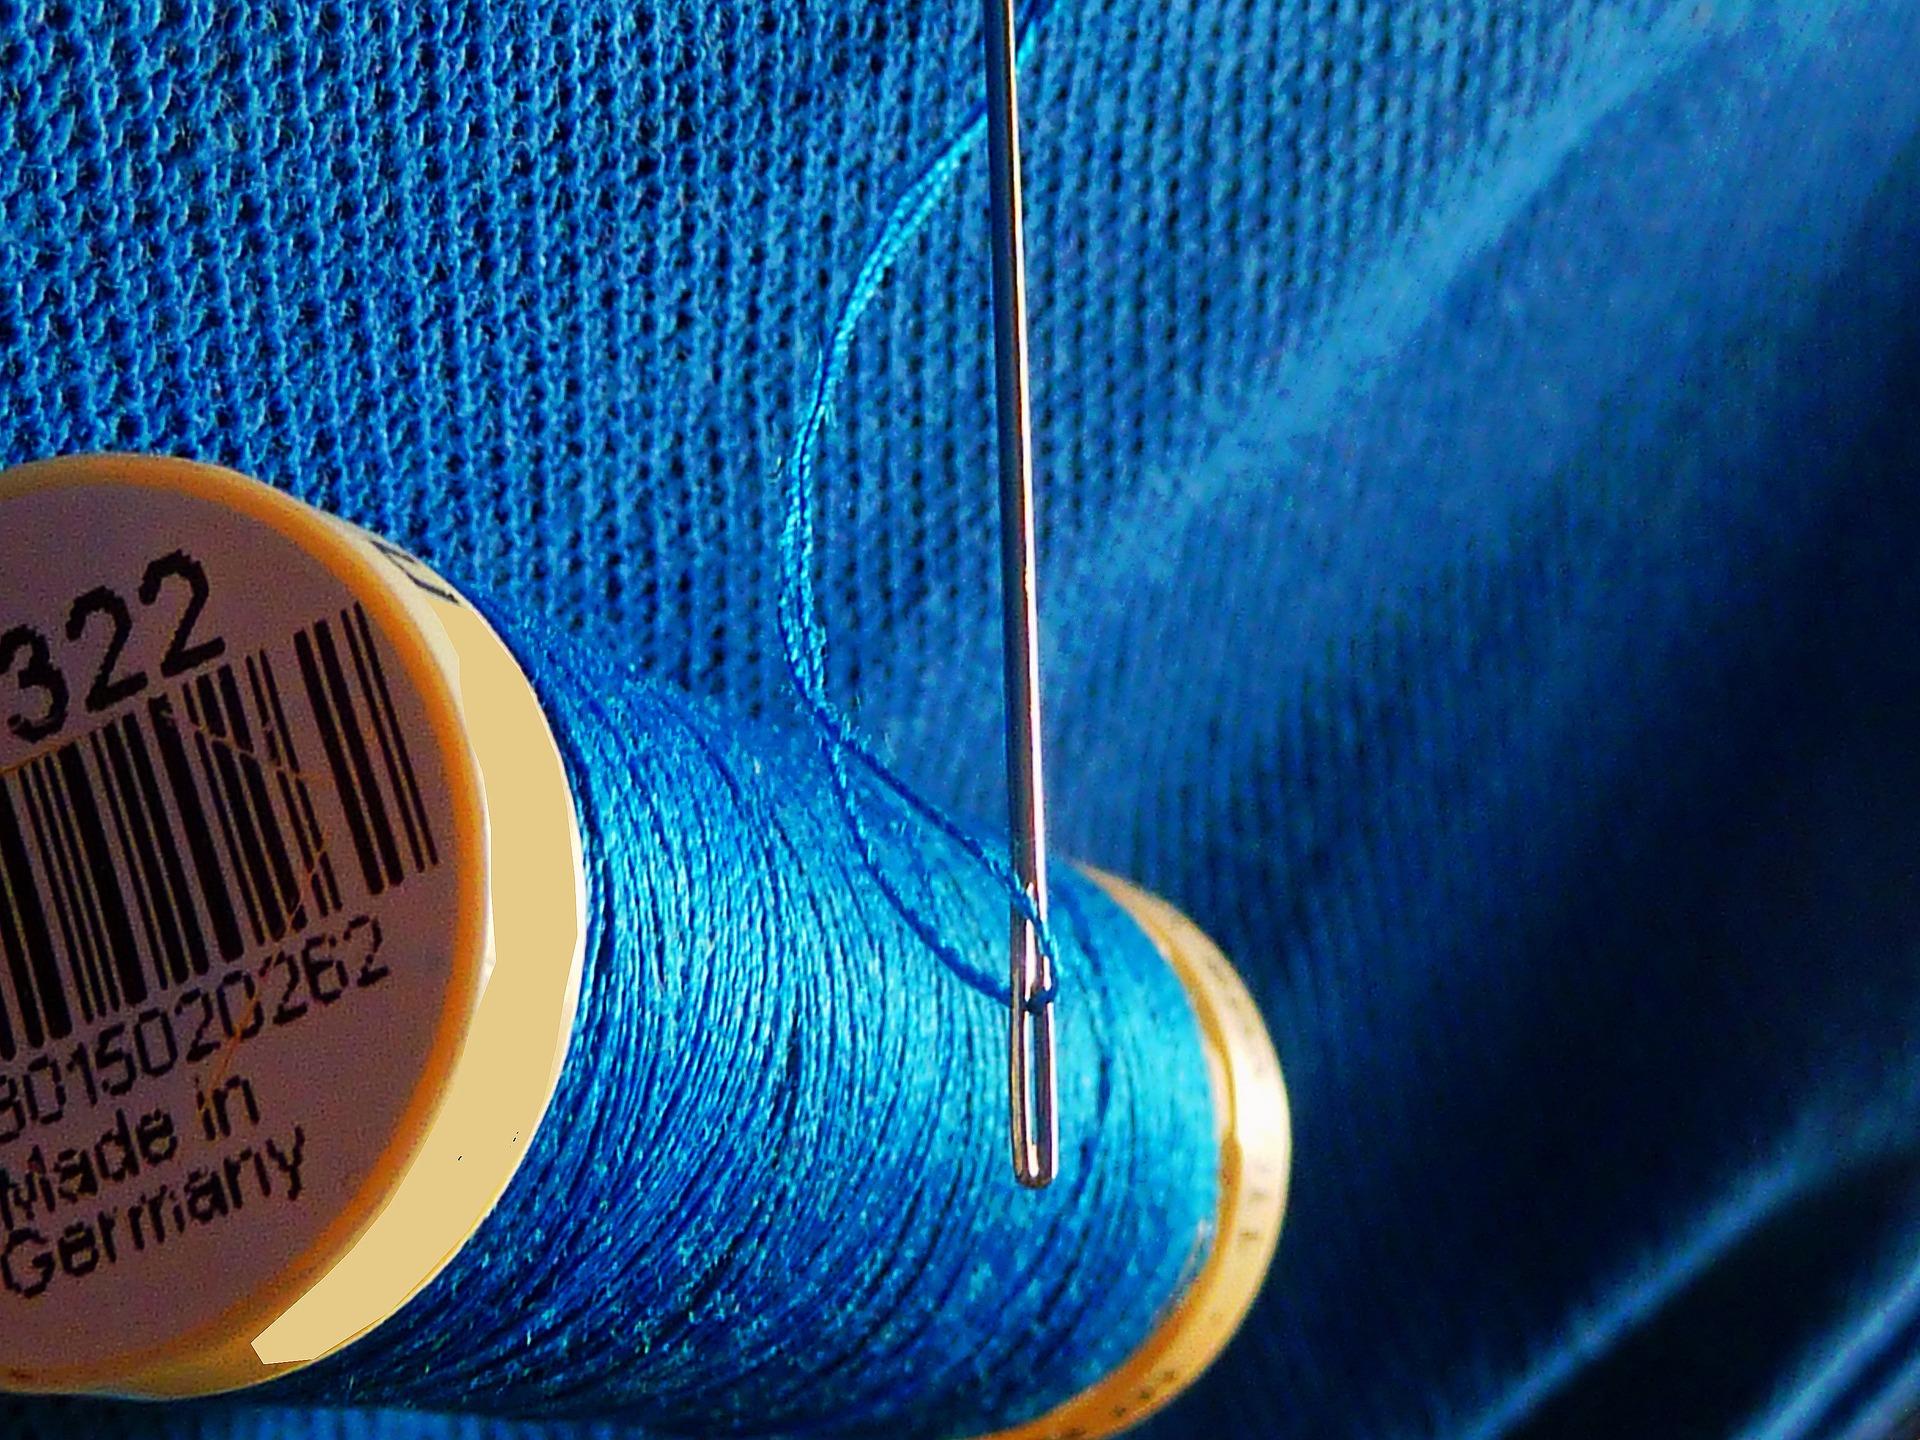
The zig-zag stitch is when the thread forms a zig-zag with the thread. It needs to be uniform.

There are a few types of zig-zag stitches. For example:
- The standard zig-zag stitch: the most common type.
- The triple zig-zag stitch: this type of stitch is used on elastic materials which can be difficult to sew. You need to regulate the tension in stitching in accordance with the fabric.
- The bourdon stitch: this zig-zag stitch’s length is almost 0. It’s useful for buttonholes.
The difference between zig-zag stitches is the length, width, and tension in the thread. Each stitch has a different use. While the straight stitch can be used in almost any project, the zig-zag stitch is particularly useful for invisible hems or buttonholes. The zig-zag stitch is also used for finishing raw edges or doing hems. It allows you to stop the thread from coming away. This is really good for holding the fabric together. This is the same reason it’s commonly used for elastic materials. Search Superprof for an amazing tutor and take a sewing class today. In fact, elastic materials are very difficult to sew, especially for beginners. It’s quite difficult getting the right tension in the material so that the stitching is neither too loose or too tight. If you use complicated or stretchy materials, the zig-zag stitch will be your best friend. It’s the best way to ensure that your fabric is stitched together well. Make sure you learn all the common stitches and seams.
How to Do a Zig Zag Stitch by Hand
You can zig-zag stitch without a sewing machine and there are two main steps to it.
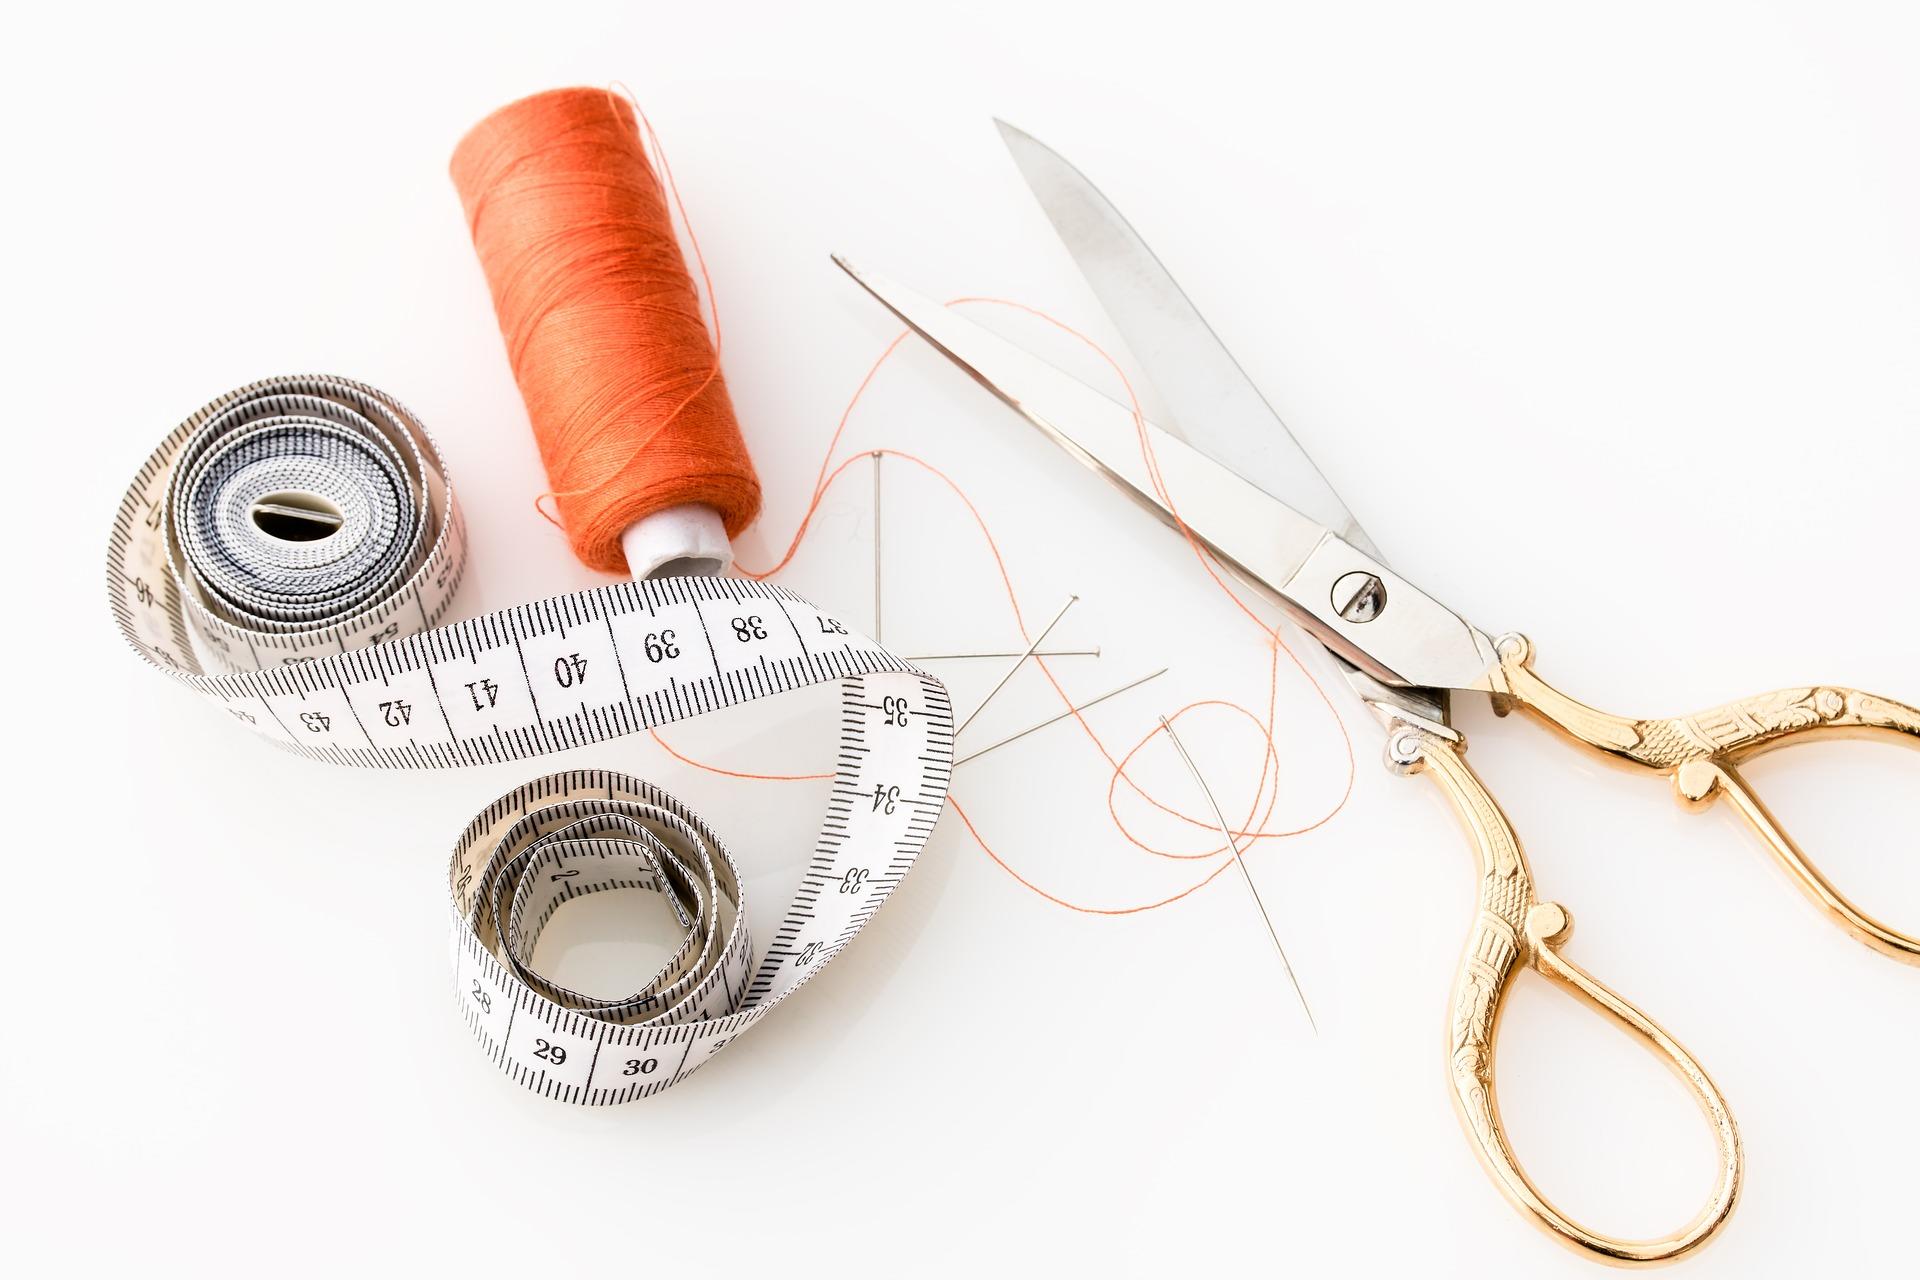
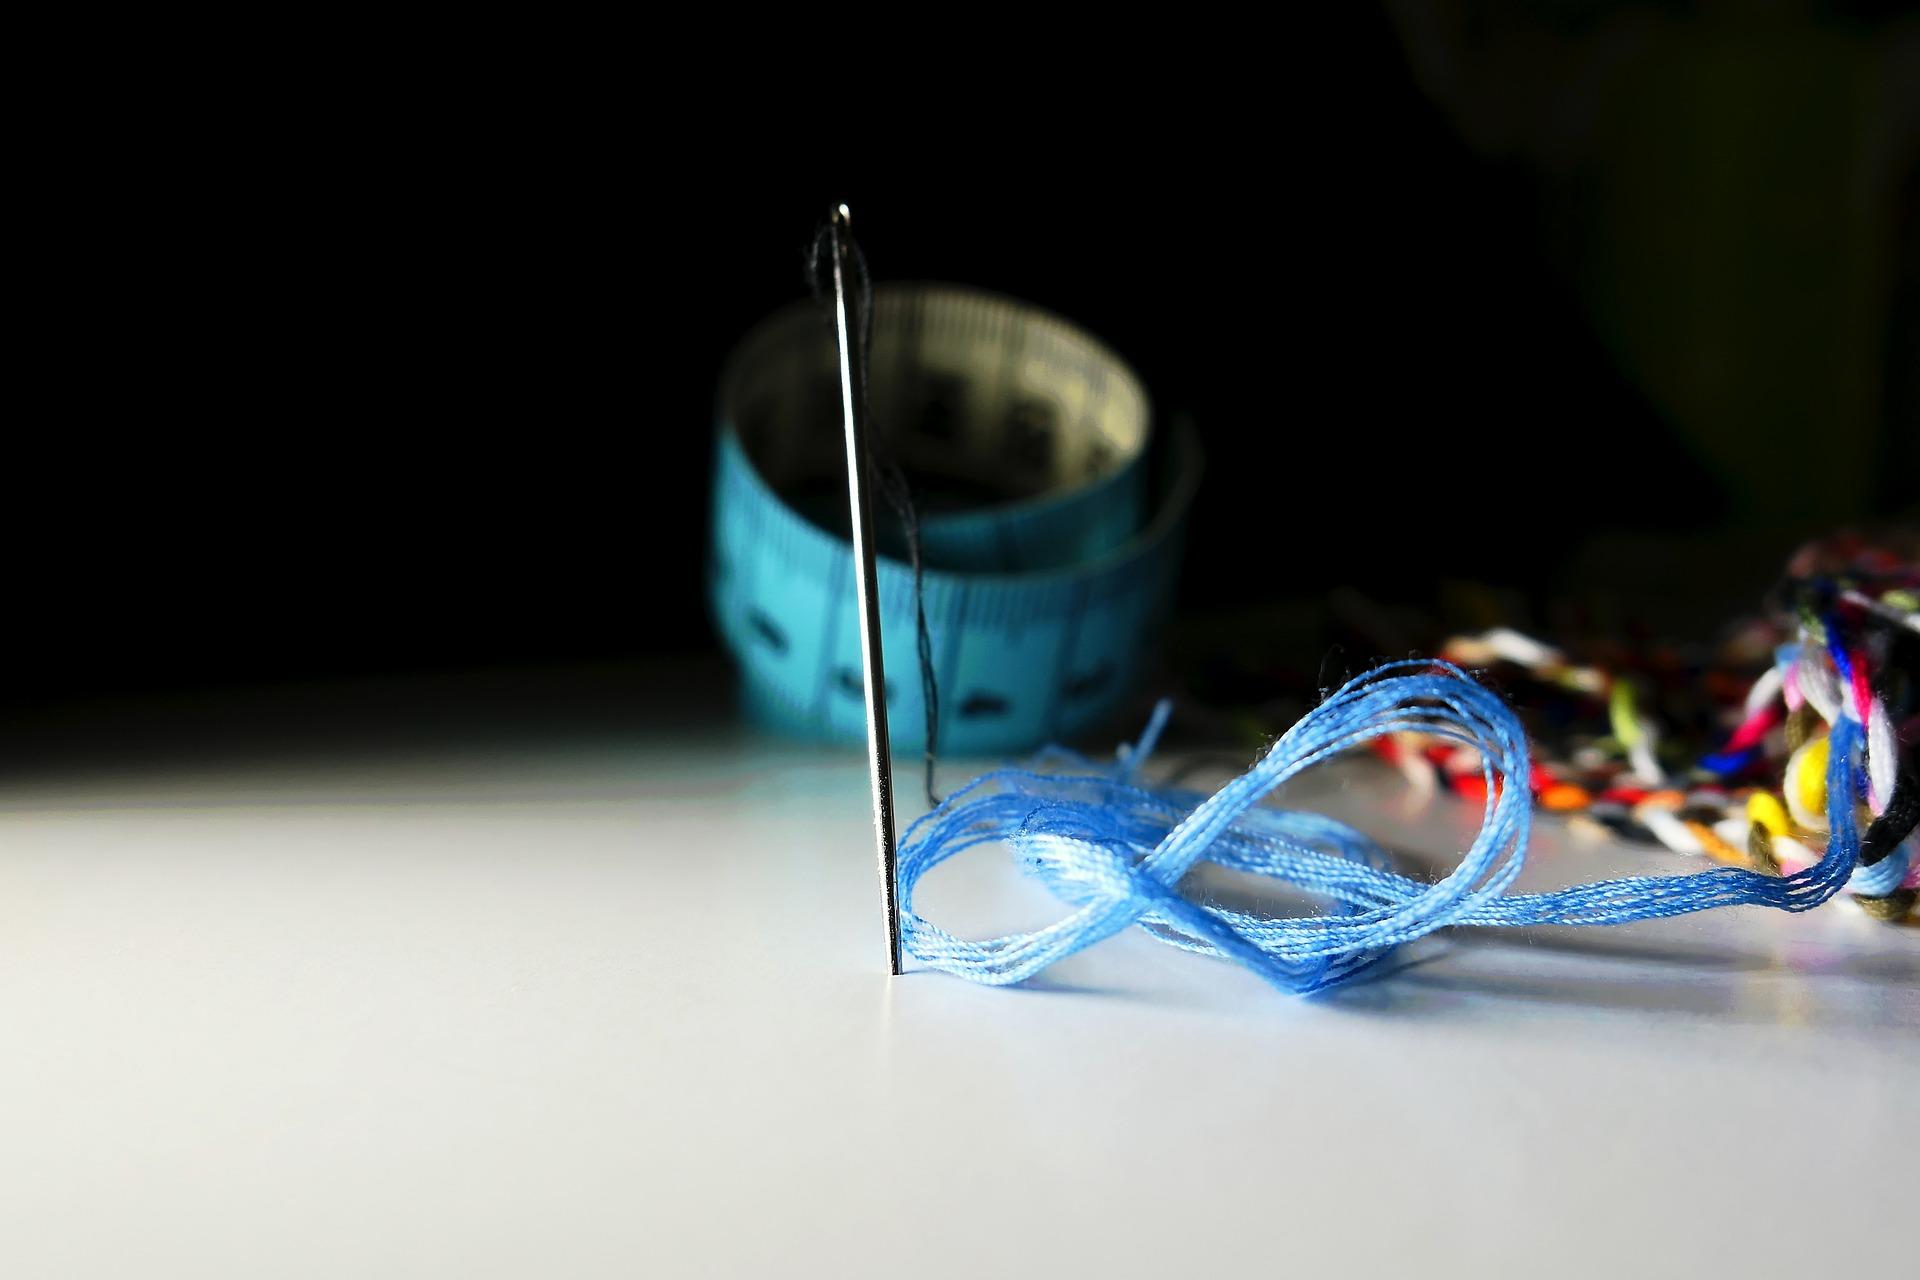
Firstly, get your needle and thread ready. Embroidery thread is good because it’s stronger than regular thread. Make sure your stitching won’t come undone by starting your stitch correctly. In the first part of a zig-zag stitch, you sew in one direction. You just need to do a simple straight stitch along an imaginary line which will be the starting point for your zig zag stitch on the way back. Start your stitch a bit above from the starting point. On the way back, pierce the needle through the other side of this hole and you’ll join it at the height of this point. The second part involves going along the stitch to create the zig-zag stitches namesake form. Your needle will go back through the second-last hole you made and then onto the previous one. Thus, the parts of the stitch without thread will be filled in. Make sure you correctly finish your stitch.
Sewing by hand can take more time than with a sewing machine but some actually prefer this technique and there are plenty of online tutorials and guides to help you with it! Learn more about felled seams.
Doing a Zig-Zag Stich with a Sewing Machine
To sew more quickly, you can do a zig zag stitch with a sewing machine if you have one. You can borrow one from a friend or attend a workshop that provides you with the necessary equipment. Once you’re sat your sewing machine, start by choosing the zig-zag stitch setting. You then need to put your fabric below the presser foot on the machine and not forget to put the needle up. Position the fabric so that the needle is about 1cm from the end of the fabric. This is your seam allowance. Start sewing! Finding the right tension in the thread is the hardest part of doing a zig zag stitch with a machine or by hand. You can usually regulate the tension in accordance with the fabric you’re using. Search for the best sewing course Melbourne on Superprof.
Teaching Yourself How to Do a Zig Zag Stitch
Learning to sew isn’t something that requires a lot of gear. You can get a needle, thread, and fabric quite easily. While a sewing machine is useful, it’s not essential.
You can learn how to do a zig-zag stitch without calling a private sewing tutor. First, practise on offcuts and scraps. This will allow you to get the hang of making a uniform stitch. Similarly, you can test different lengths and widths of zig-zag stitch. Once you’ve practised, you can start using the technique on sewing projects like a purse or any other accessories. First and foremost, have fun with it. Practising regularly will improve your technique. You can also check out some of the tutorials available online to give you an idea of what zig-zag stitches should be like.
Private Sewing Tutorials for Learning the Zig Zag Stitch
Getting private tutorials just to learn a zig-zag stitch isn’t very useful. After all, you can master the technique in a few hours. However, if you want to be really good at sewing, working from sewing patterns, making clothes, etc., a private tutor can help. They’ll teach more than just how to do a zig-zag stitch but also a straight stitch, open and closed seams, French seams, overlock stitch, backstitch, buttonhole, etc. The zig-zag stitch could be the focus of one or two hours of your tutorials. Then you’ll just need to practise it outside of your lessons. There are plenty of tutors offering sewing tutorials on Superprof and there are three main types of tutorial on offer: face-to-face tutorials, online tutorials, and group tutorials. Face-to-face tutorials involve a private tutor and one student. Since you're getting tailored tuition, you can expect to pay a premium for it. However, these types of tutorials are also the most cost-effective since every minute of the tutor's time is used helping you, unlike in a group class or a workshop. Online tutorials are similar except that your tutor isn't physically there. Thanks to the internet, webcams, and programmes like Skype, students can learn from tutors all over the world. Since these tutors don't have to travel, they can charge less for the tutorial. However, these types of tutorials tend to be better for theoretical subjects rather than practical subjects like sewing. Group tutorials are the cheapest per student per hour since the cost of the tutor's time is shared amongst all the students attending the tutorial. Unfortunately, you won't get as much one-on-one time with your tutor but if you and a group of friends all want to learn how to sew, this is probably one of the best ways to do it.
Learning the Zig Zag Stitch in a Sewing Workshop
If you want to learn how to do a zig zag stitch but don’t fancy doing sewing tutorials throughout the year, you could attend a sewing workshop. There are professionals ready to teach you in haberdasheries and workshops for a few hours on a particular technique like the various types of stitches. You just need to see when there’s a workshop on zig-zag stitches. You can practise on offcuts or bring along a project you’re working on if you want. You’ll get the hang of regulating the tension in the thread, using different materials, etc. Having help on hand will help you progress more quickly. This is also an opportunity to use sewing equipment for a few hours. Overlock machines, needles, zips, irons, buttonholes, the haberdashery is the perfect place to find everything you need. Get your sewing machines out, practise, and, most of all, have fun! Are you ready to start learning how to sew and make your own clothes, arts, and crafts?
Summarise with AI:
Did you like this article? Leave a rating!


